
 Now that we walked through all the steps of reducing power consumption from the start through first tests, reducing consumption, optimized tests and adding a RTC including the problems of waking up from sleep via interrupt, adding a 24AA256 EEPROM as external memory. and using it in page mode it’s time to make a more useable system from what we have.
The first steps are increasing the datalogging interval and then using a supercapacitor.
 This is the next step forward In my “minimalistic standalone ATmega328 powered by a capacitor”. In this project I was walking from the
  In my “minimalistic standalone ATmega328 powered by a capacitor” project I was walking from the
  There are already some posts about my testsystem, Arduino powered by a capacitor:
  Now let’s put this all together. First we take the old setup from the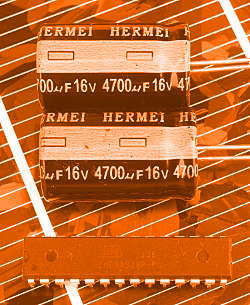
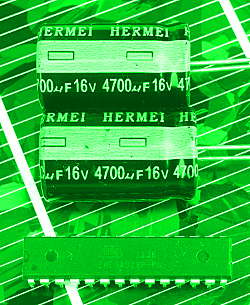
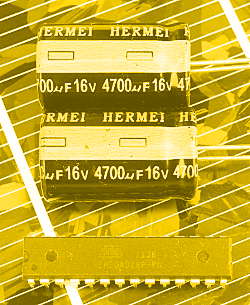 This is the second post about powering an arduino from a capacitor. The basic setup is described in the introduction. It’s an ATmega328P in a standalone setup with use of the internal clock source. The power comes from the two capacitors on the picture. The microcontroller measures it’s own supply voltage repeatedly in intervals and writes data to the onboard EEPROM. After starting the measurement the power supply is plugged out and the ATmega runs off of the capacitors until the voltage is too low.
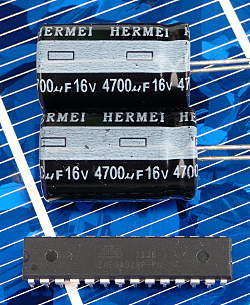 Let’s take a capacitor as the power source for an arduino. But what sense does that make? This is totally nonsense you might say. A capacitor can’t store enough energy to run a microcontroller for a considerable time. Take a rechargeable battery to get it running. You’re right (at first sight).
 In this post we will talk about some practical topics when it comes to building a real standalone PV system. We know the