
 My experience with the solar eclipse on March 20, 2015 began one day before: A primary school teacher told me that the parents had to sign a form freeing the scool from any responsibility if their children get hurt from watching the eclipse. Furthermore, the parents were made responsible to equip their children with appropriate eclipse glasses. Children who didn’t bring the signed forme were refused to watch the eclipse. So what i’m asking myself is: What do these children learn? Do they learn something about nature and how to deal with extraordinary events or do they grow up in a climate of fear and learn how to delegate any responsibility to somebody else? Btw. the german word Angst also exists in english…So I didn’t care a lot about the eclipse. But when it happened I noticed the dayllight getting dimmer although we had blue sky in southern Germany. Then I thought about watching the eclipse without having eclips glasses or other filters: Not watching it directly but making a projection. I remembered something I learned in school some decades ago in my physics class: The camera obscura or pinhole camera many of us should remember from their school days. In a closed box with a small hole on one side a picture from the outside world is point projected to the opposite side of the box. The disadvantage is that you have to make the hole very small to get a rather sharp image. But with a small hole the picture is very dimm… But the advantage of the camera is that you can choose any size of the camera you want! So you can also take a whole room as the camera and go inside it to see the projection.
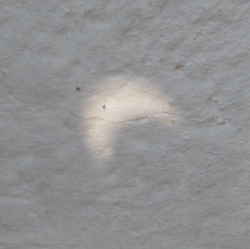 My first quick test was with a sheet of advertising cardboard and a 8mm hole punched into it. I held it around 2m away from an outside wall and got this very first picture. This one was taken outside in sunlight having only the shade of the cardboard. Note that all pictures are left “as is”. No photoshop (in my case: gimp) corrections! Only cut to size.
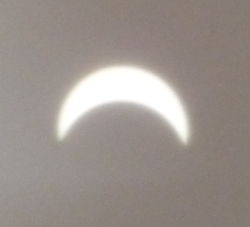
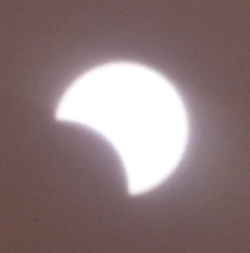
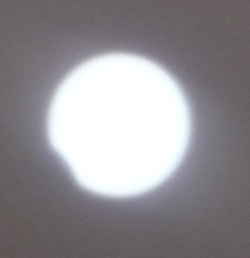
 This made me want to have better pictures. So I did what I experienced back in my school days: I went to one of the rooms in the house and covered the window with the piece of carboard and everything I found quickly. Less than ten minutes later the next picture already had better quality (see left). To make the picture visible I attached a sheet of white paper to a piece of styrofoam lying around and leaned it against a chair.
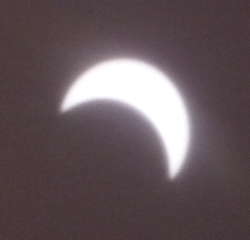
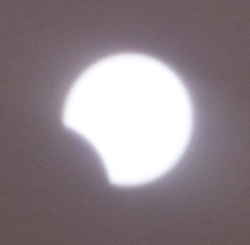
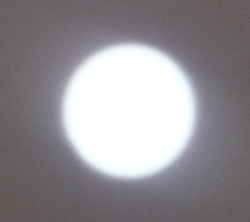
 The above picture is rather blurred because of the big 8mm hole. So I closed it again and punched another one with 2mm. The result can be seen on the left. With a smaller hole the picture would become sharper but darker. As my digital camera isn’t very good in dark conditions I got along with this 2mm hole. With a smaller hole and a better camera much sharper results should be pssible.
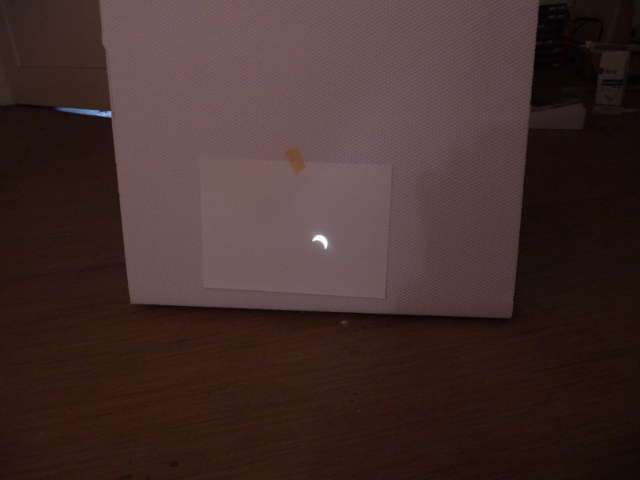
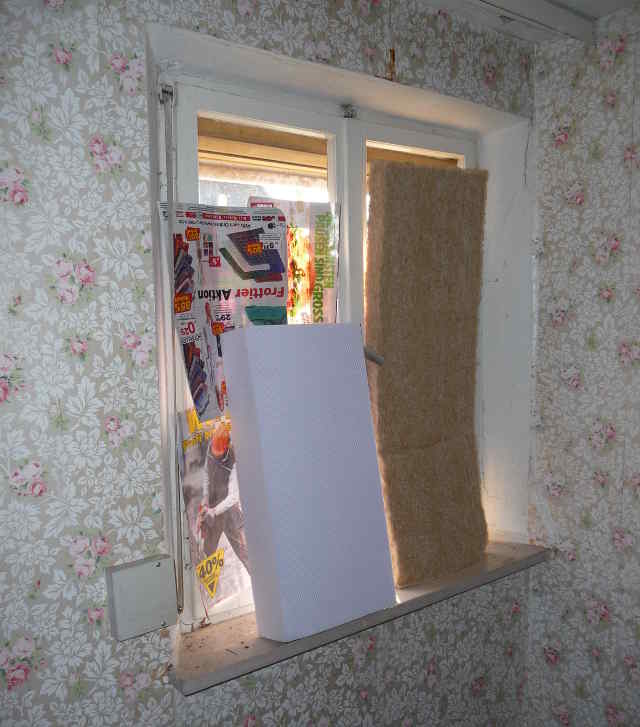
After completing the window cover the pictures bacame again better. I was quite statisfied of the results from this very quick and very low-tec approach. The next two pictures show the “projection screen” and the window cover. This is what we call quick and dirty 🙂
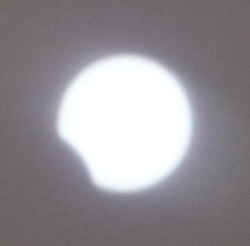
Now here are some other pictures I took until the end of the eclipse:

Conclusion
With some preparation better results probably could have been made: Some experience with the size of the pinhole and the camera and some gimp-tuning of the reulting pictures surely would give better results. But I made it with a ten minutes effort remembering the ancient low-tec method that was used to wath the sun already some centuries ago. This made me able to see the eclipse without bying any special glasses or filters but nevertheless in 100% safe conditions only by using some scrap material lying around and (most important) my brain 🙂 Imagine the same thing with good preparation and much bigger in a school’s classroom…
Enjoy
heliosoph
Great! Glad you got some good pictures with the projection method… I also had a go, but you’ll see I needed a larger plane – http://quad.ae24.space/solar-eclipse-2015/
Thanks for your comment! Yes, I love these quick-and-dirty methods: minimal effort, minimal time but reasonable results. More distance from the pinhole to the projection plane gives you a bigger but darker image. This is why I took a room as “camera”.
About measuring the solar irradiance with a photovotaic panel: Be sure to measure the short circuit current as it is proportional to the irradiance over a wide range. The open source voltage depends merely on temperature than on irradiation.
Best regards
heliosoph