 A standalone PV system begins with thinking about the load. So let’s talk about our load: The characteristics of the load determine all the components of the PV system because it must be designed to feed the load so that everything works the way we want it to.
In the first part of this article we will talk about choosing the appropriate system voltage. The second part is about how much electricity is consumed and how to optimize the system in a way that it needs less energy but still is fully functional.
Continue reading
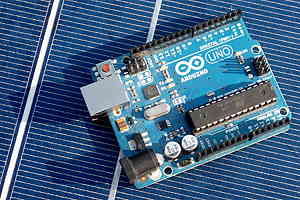
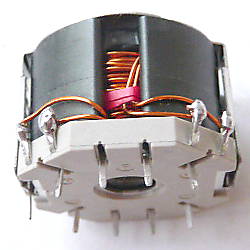 Often coils have to be custom made for your application. I started making my first coil by simply taking a bobbin and wire and winding the coil by hand (see left). This can be a very boring job. So it was time for a simple winder that is cheap and easy to build. I didn’t want to wind by hand and count the windings in my head any more. So the winder had to have a motor, a rotary encoder and an arduino to do the counting job.
 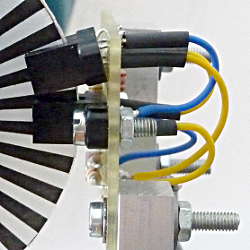 In this post we will add a second photointerrupter to our rotary encoder. This will give you information about the direction your rotary device turns. So you will be able to count forward and backword depending on the turning direction. This is necessary e. g. for many positioning application. The encoder we will make is also called a quadrature encoder.
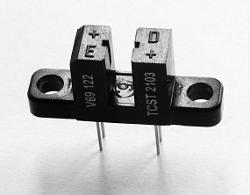
 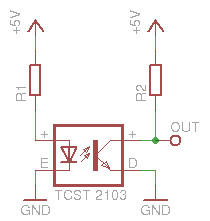 In my second post about photointerrupters I show you how to get things working properly and how to spend only as much energy as necessary. The schematic diagram shows the basic wiring for a photointerrupter like the TCST 2103 that I introduced already in my